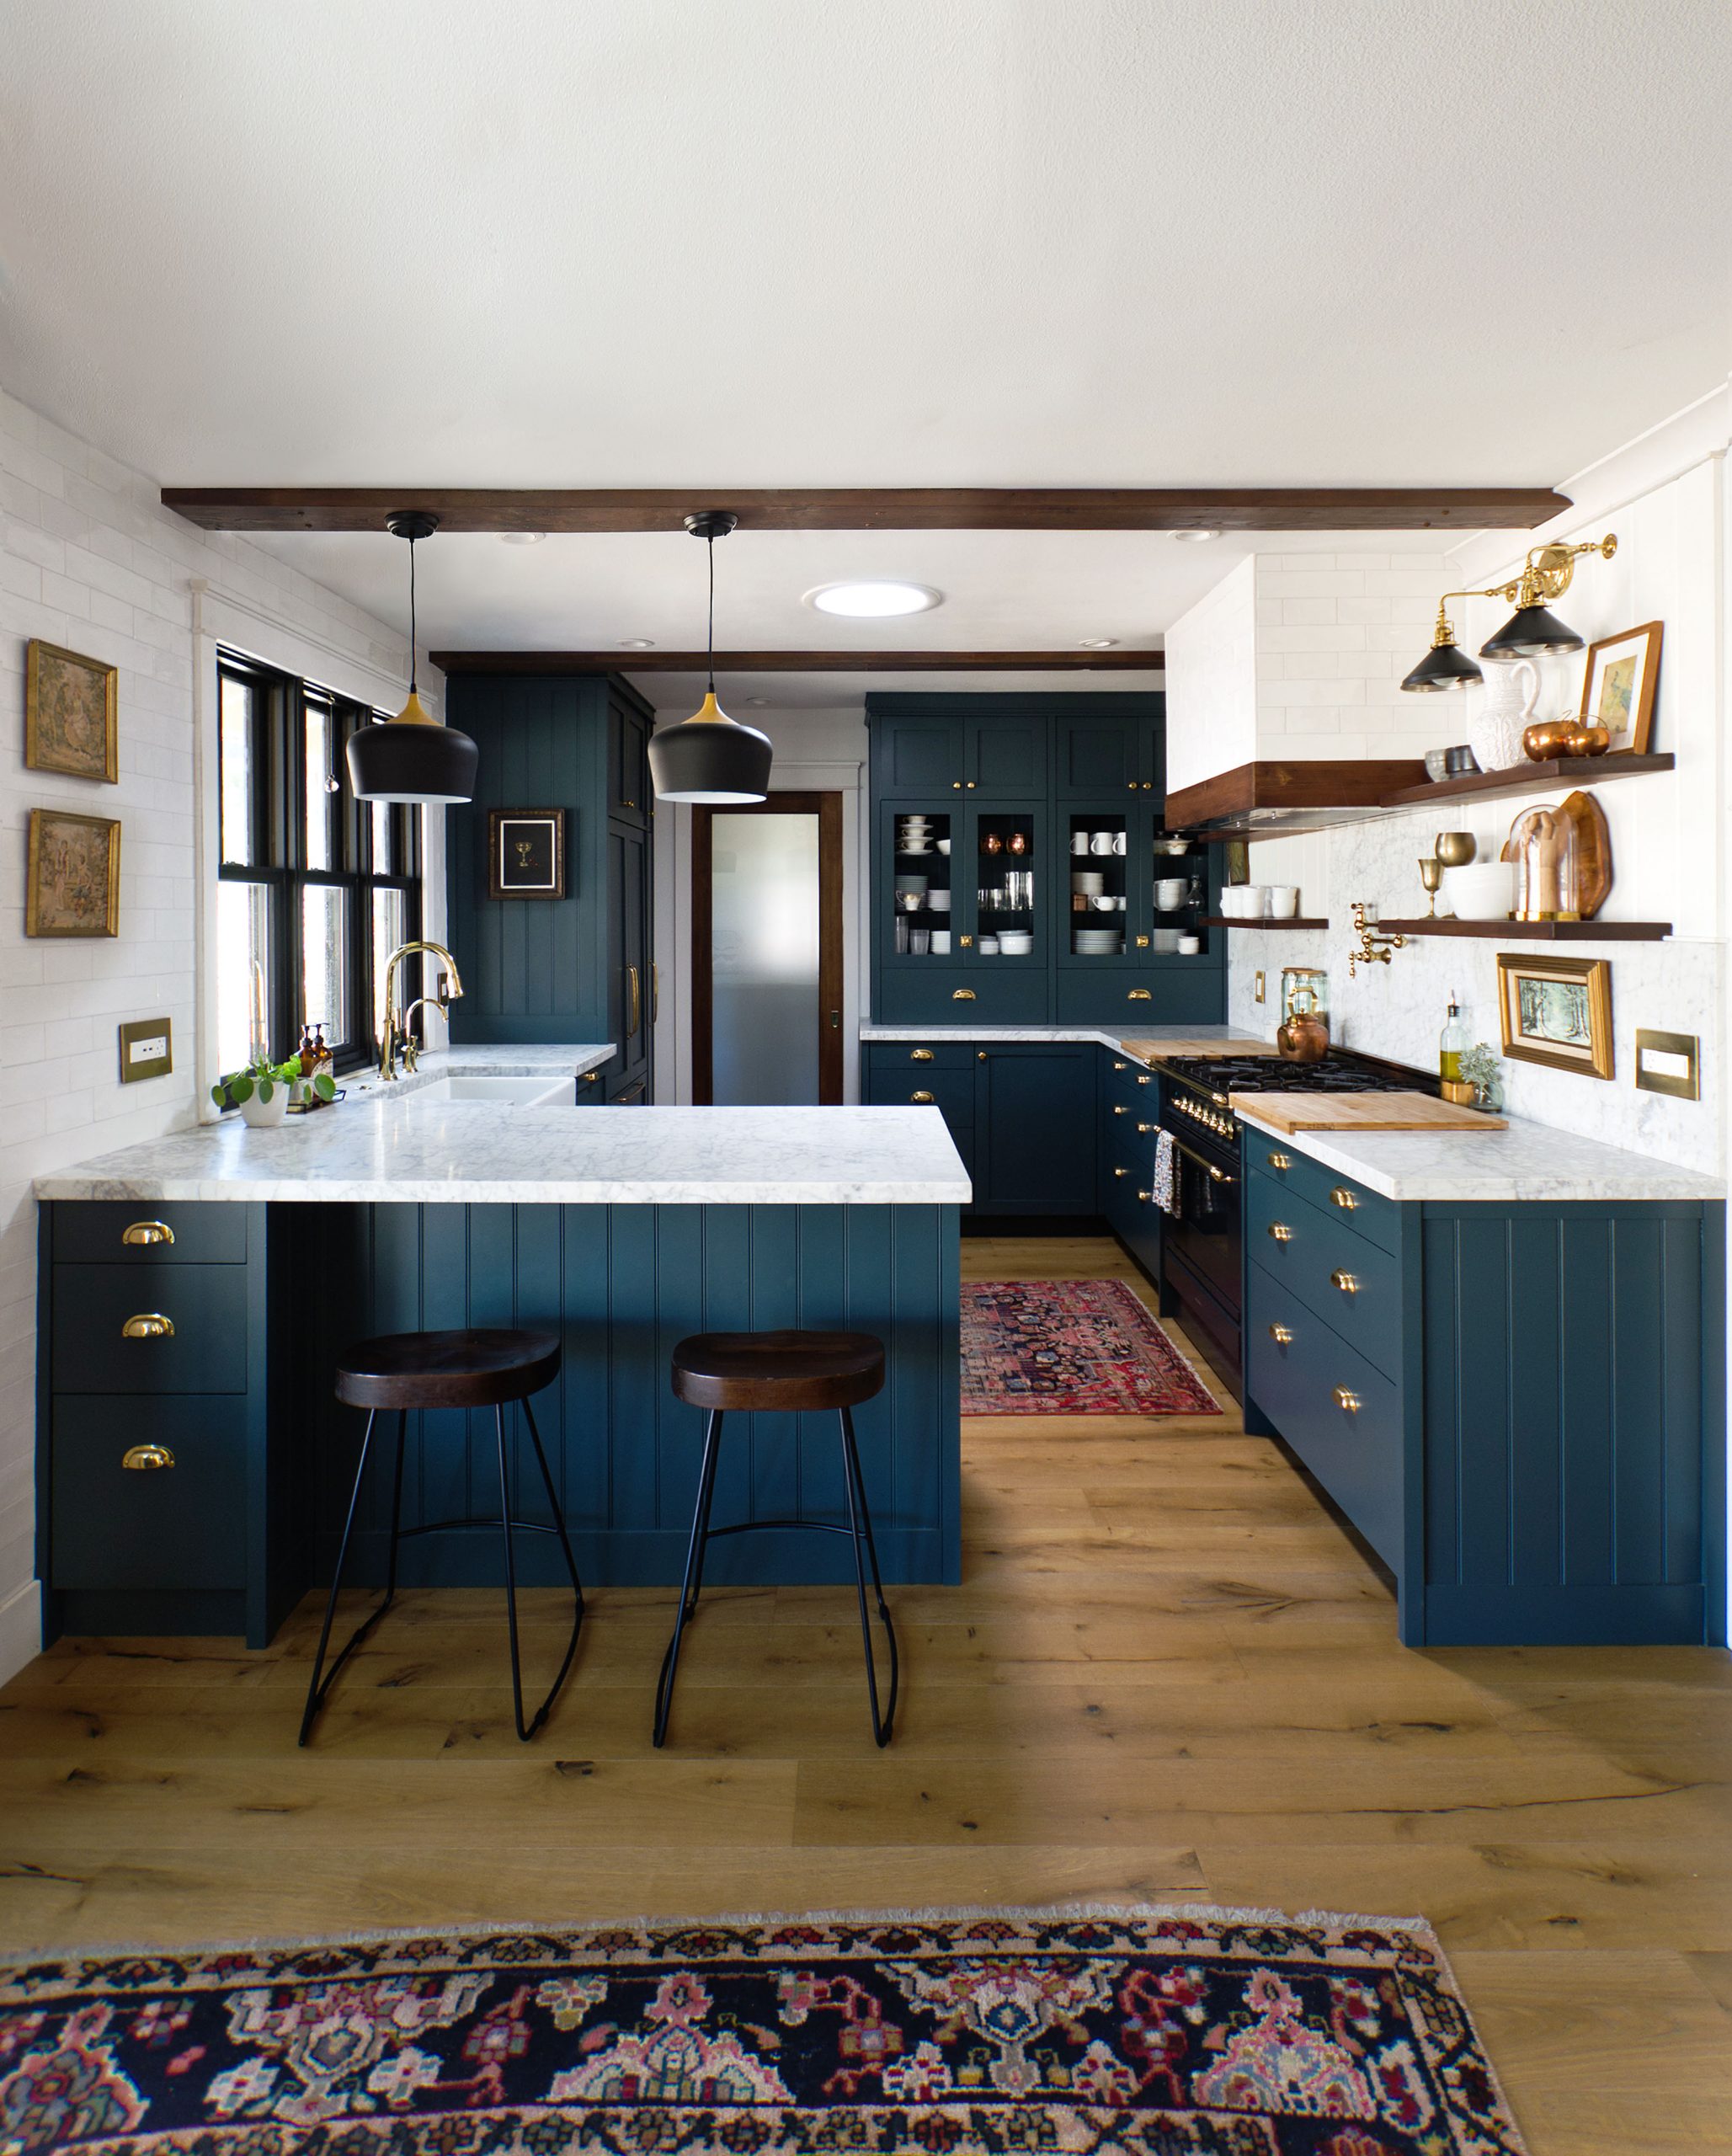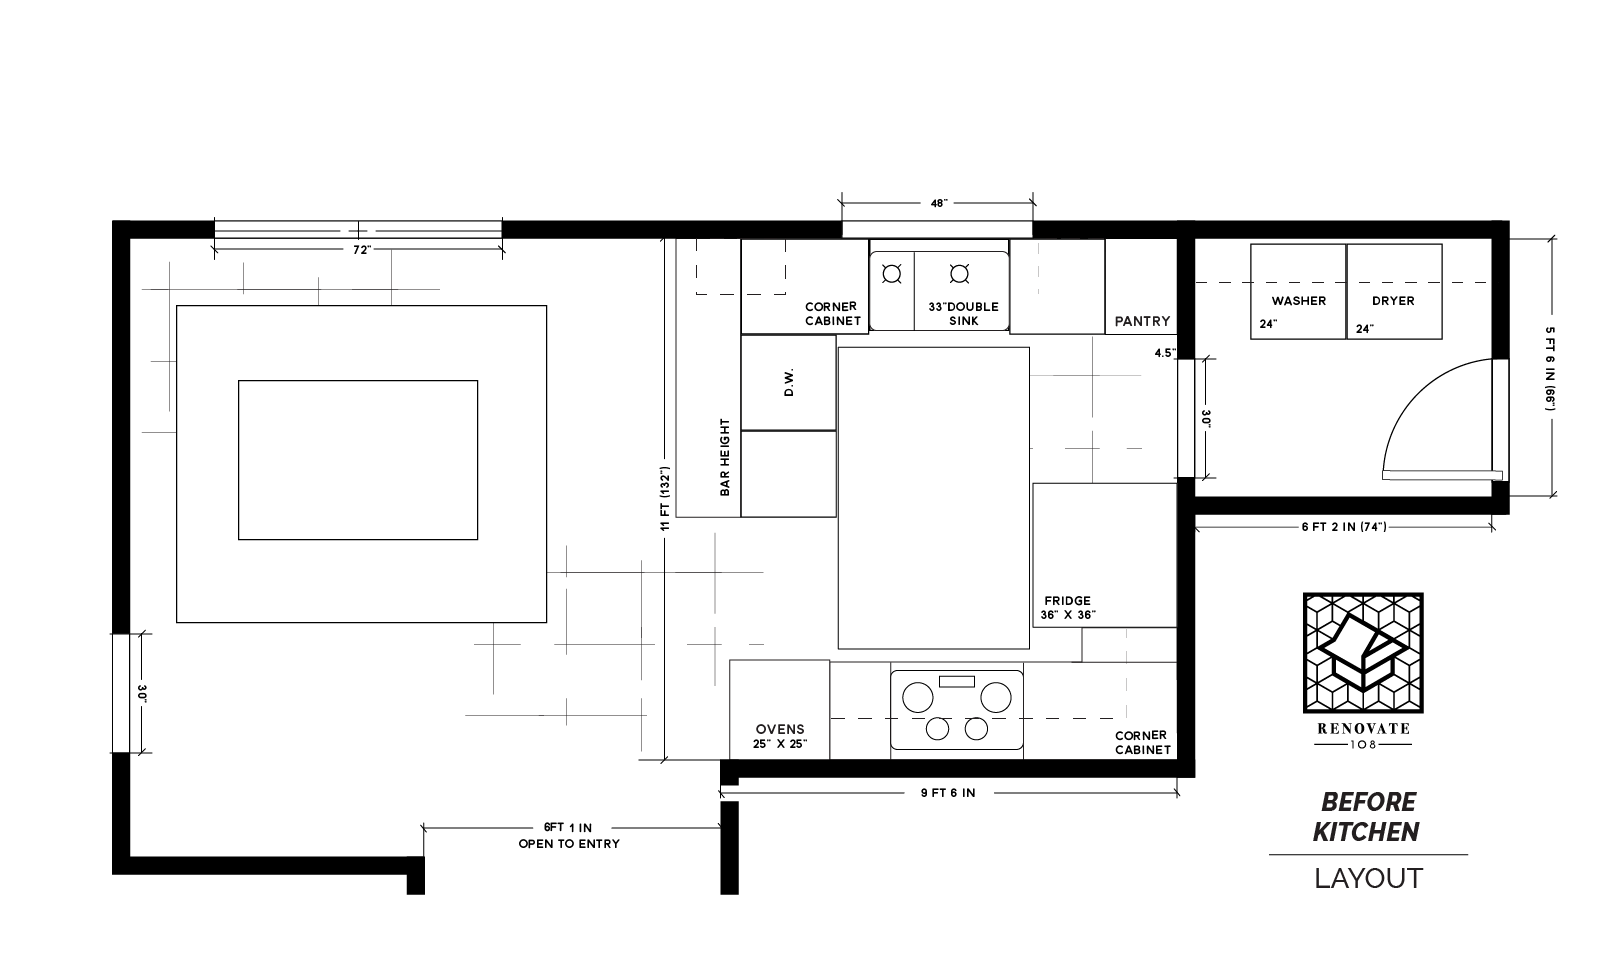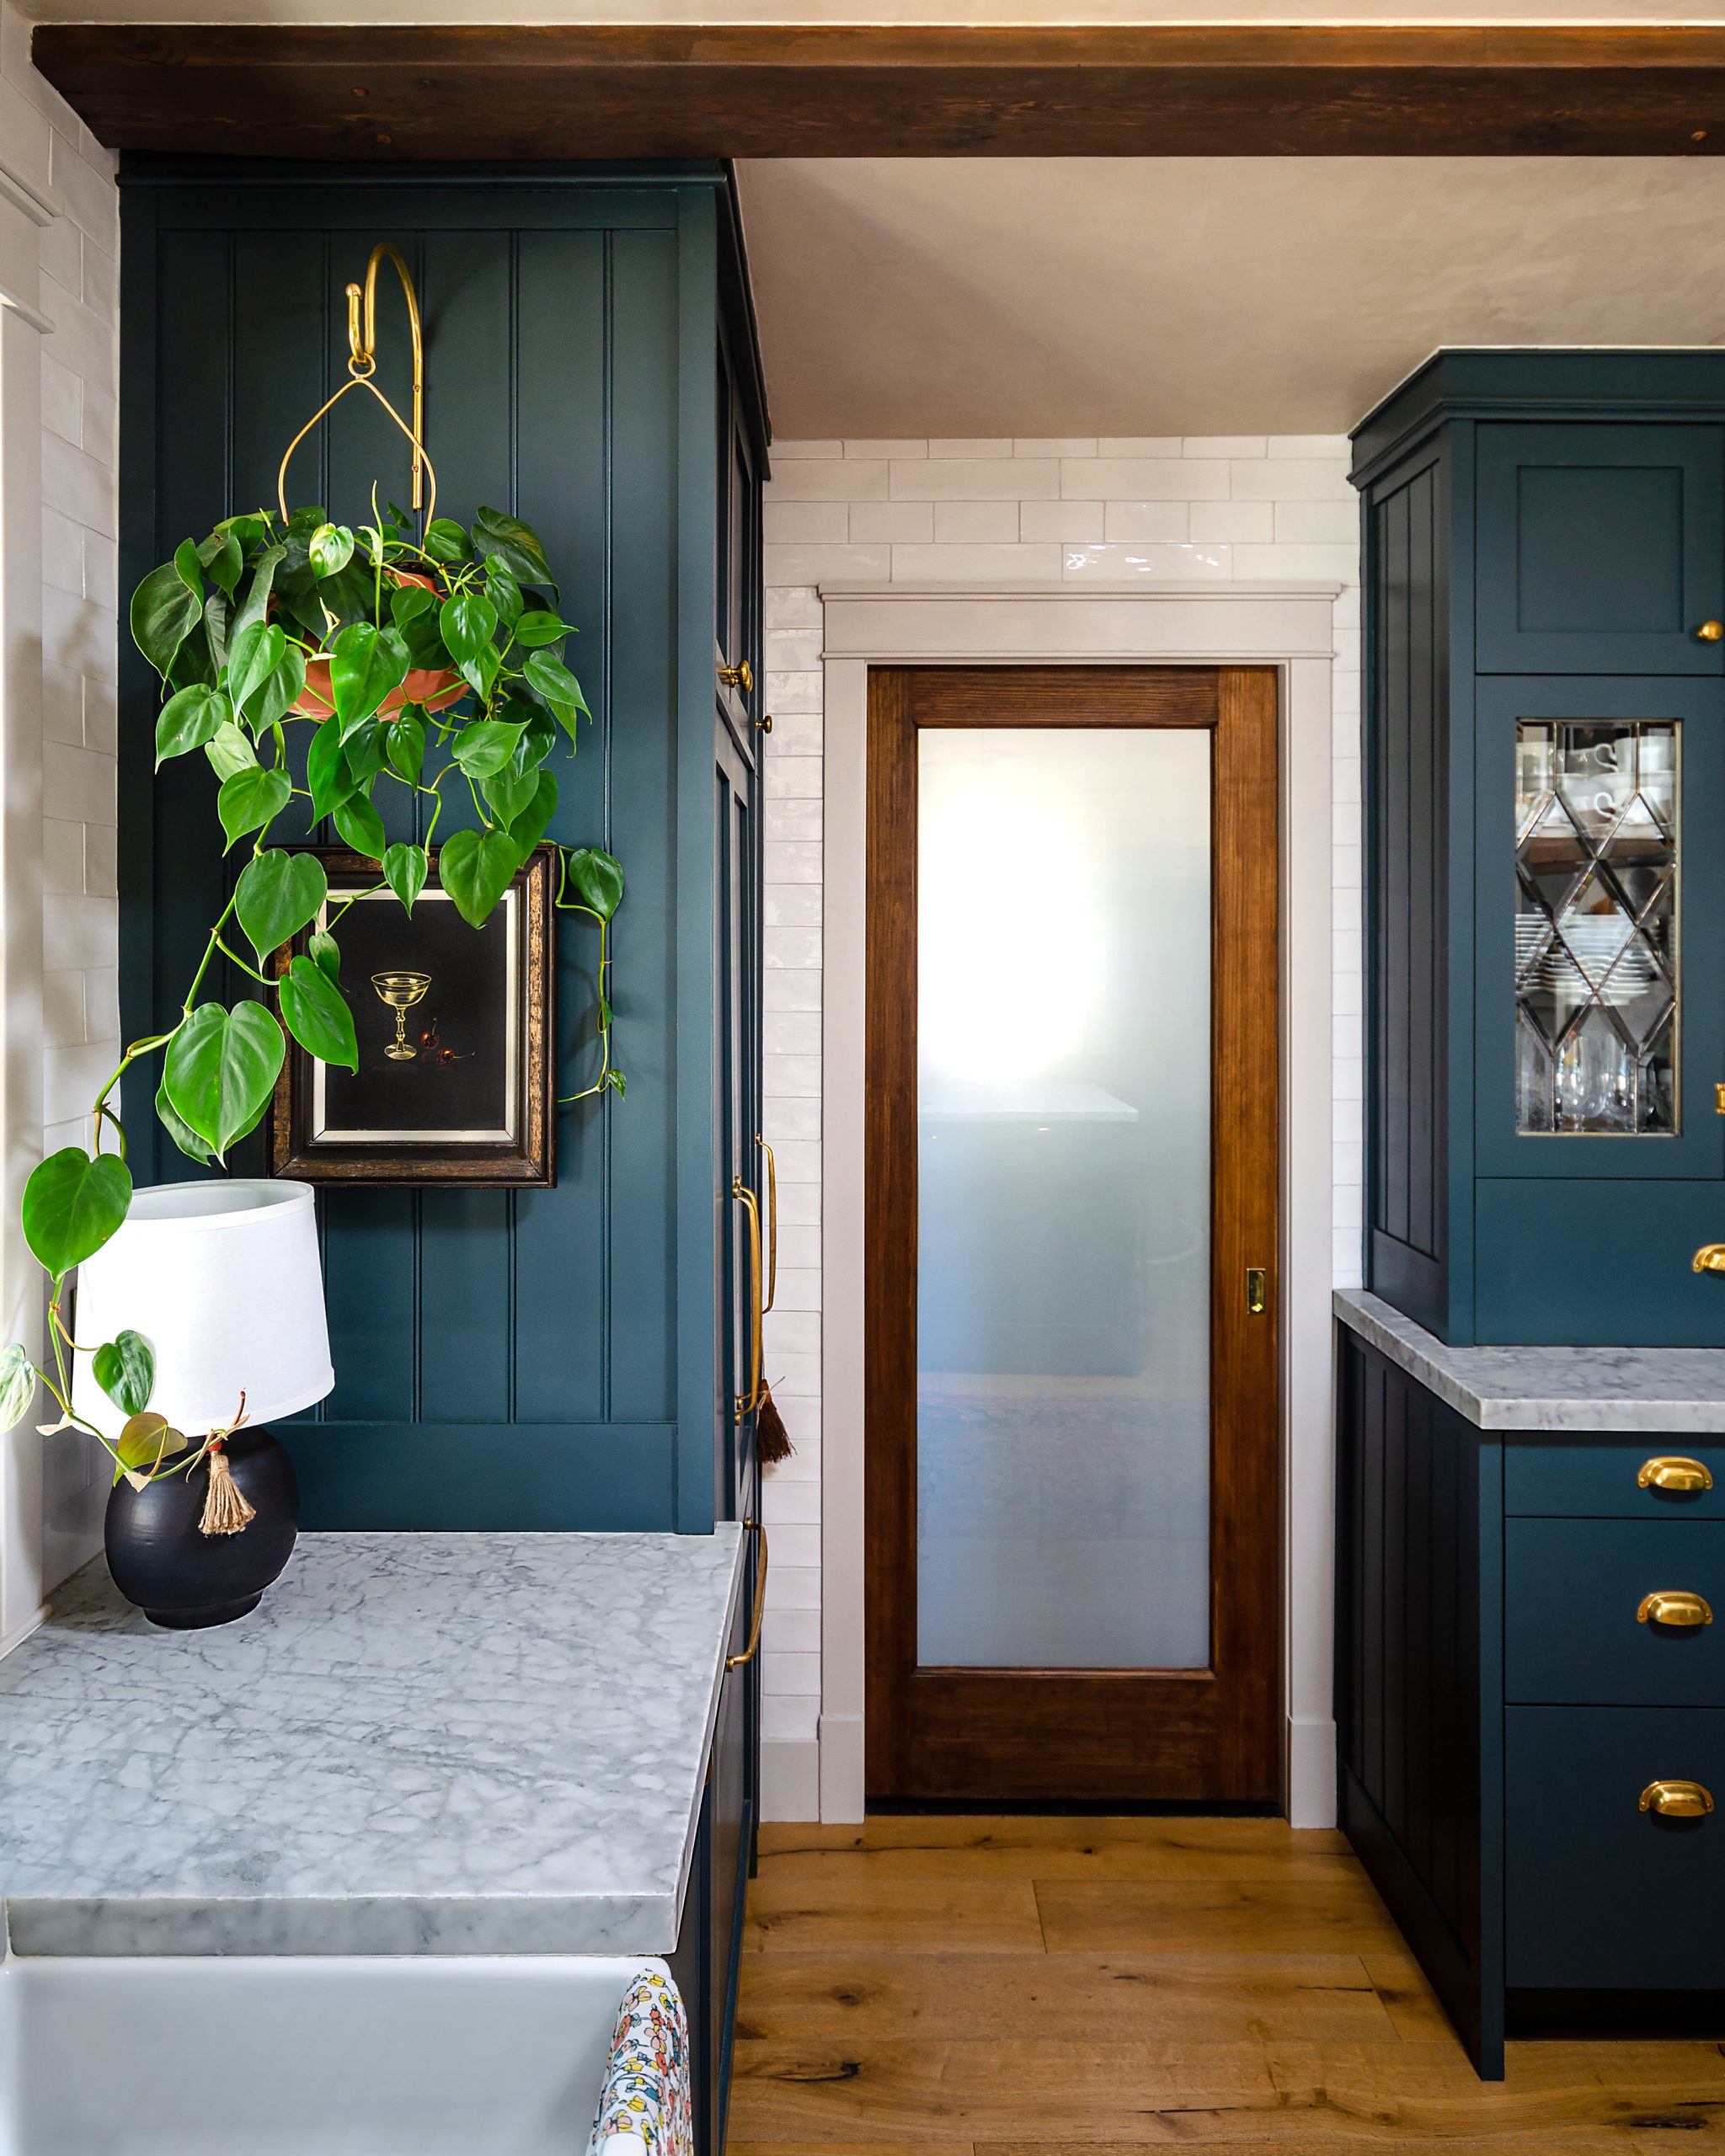
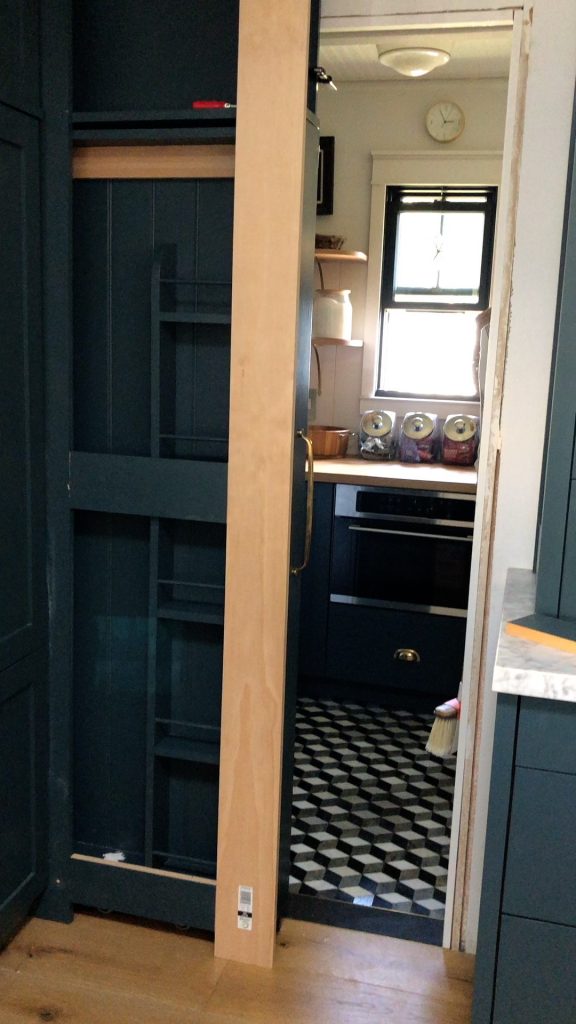
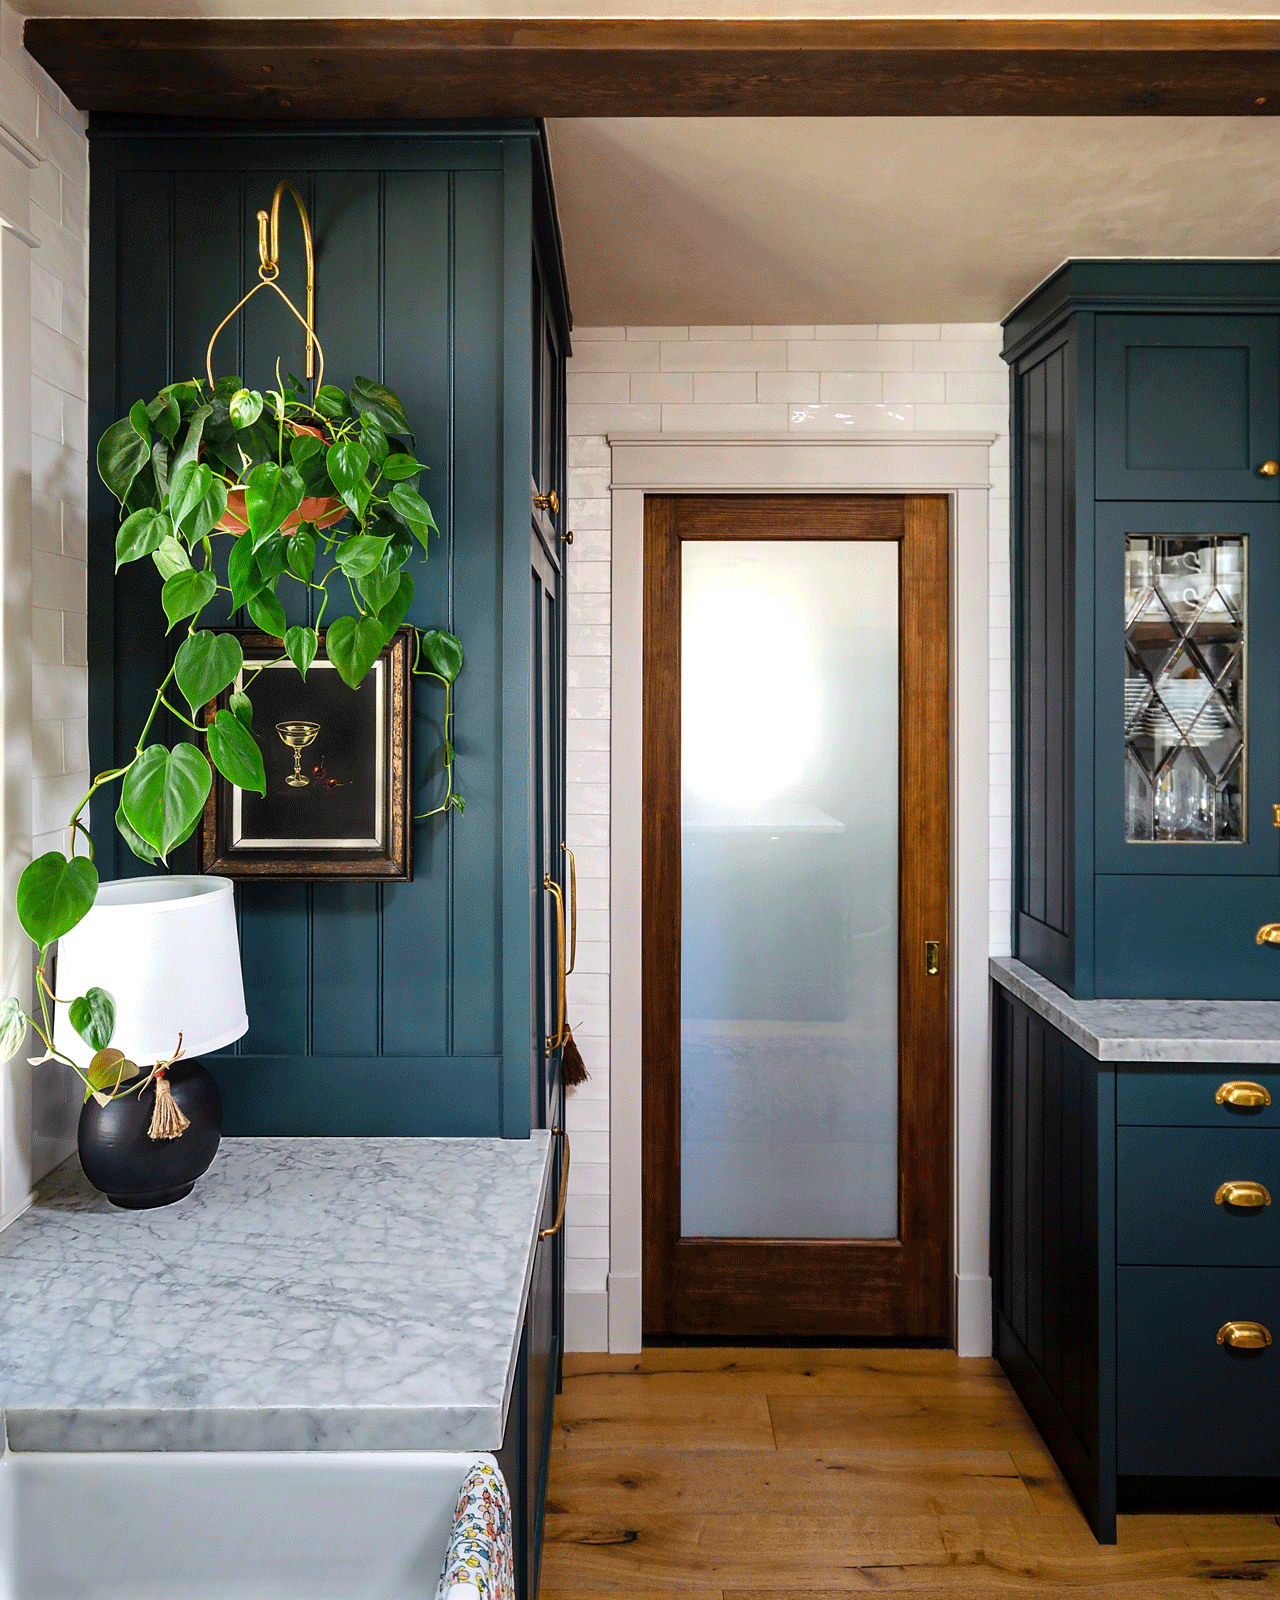
Our broom cupboard pullout is something we are most asked about. Before we made ours, I found that plenty of people had the same idea (like this one, and this one), but I had not (and still have not) seen one as integrated, thin and finished as I was looking for. IKEA has a ”cleaning” pull out, a metal basket situation that can be installed in one of their tall storage kitchen cabinets, but it requires a 15” wide cabinet at minimum, and we clearly did not have the space. The space we have is 6″ at the top and 7″ at the bottom because of how the wall tapers. I quickly realized this would have to be totally custom designed and built by us.
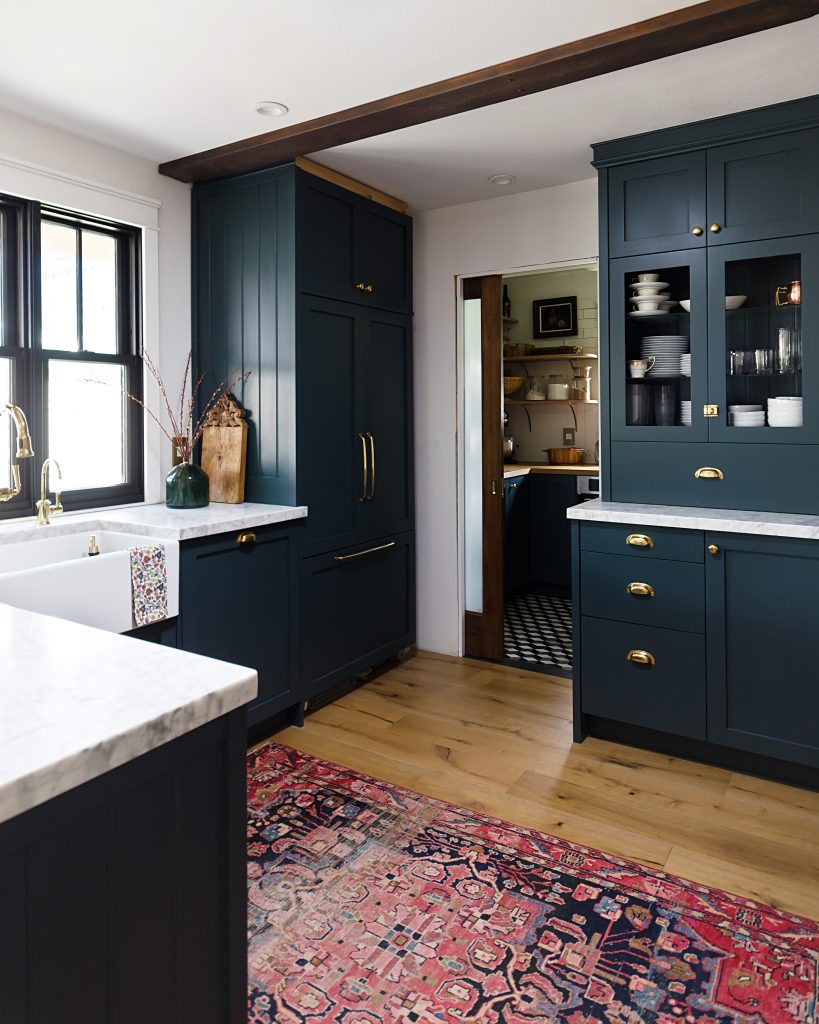
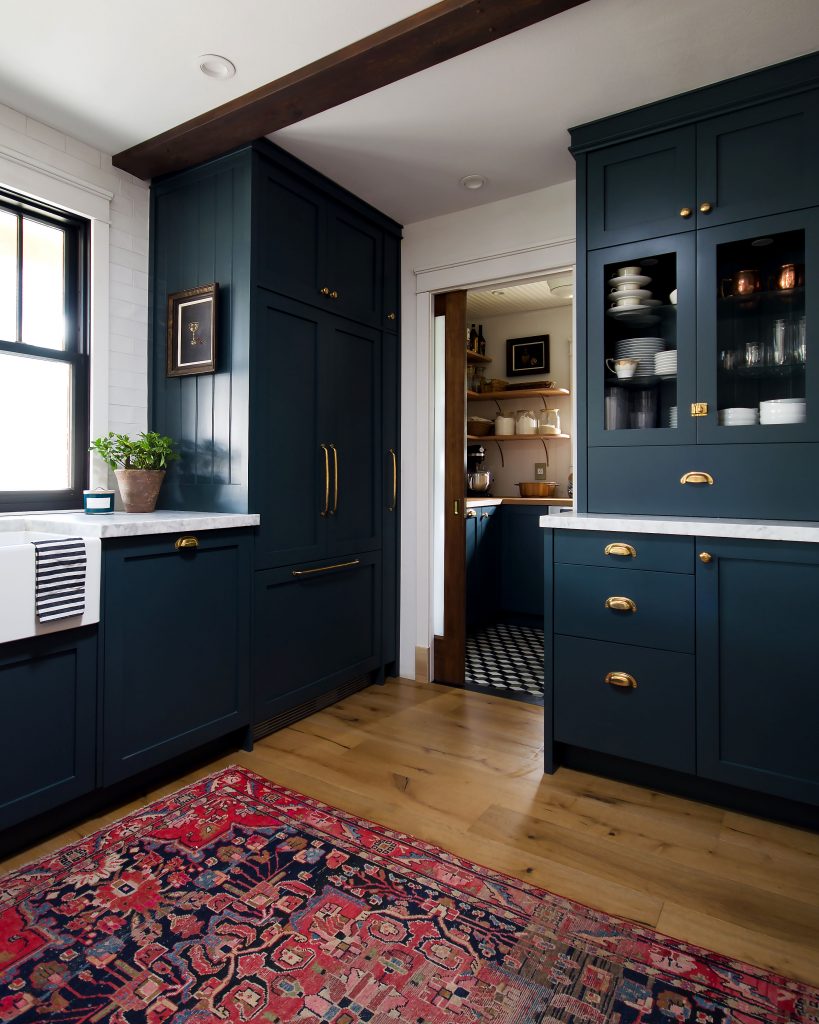
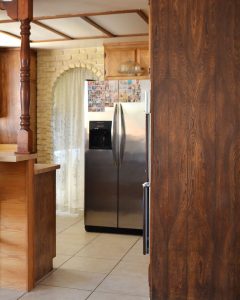
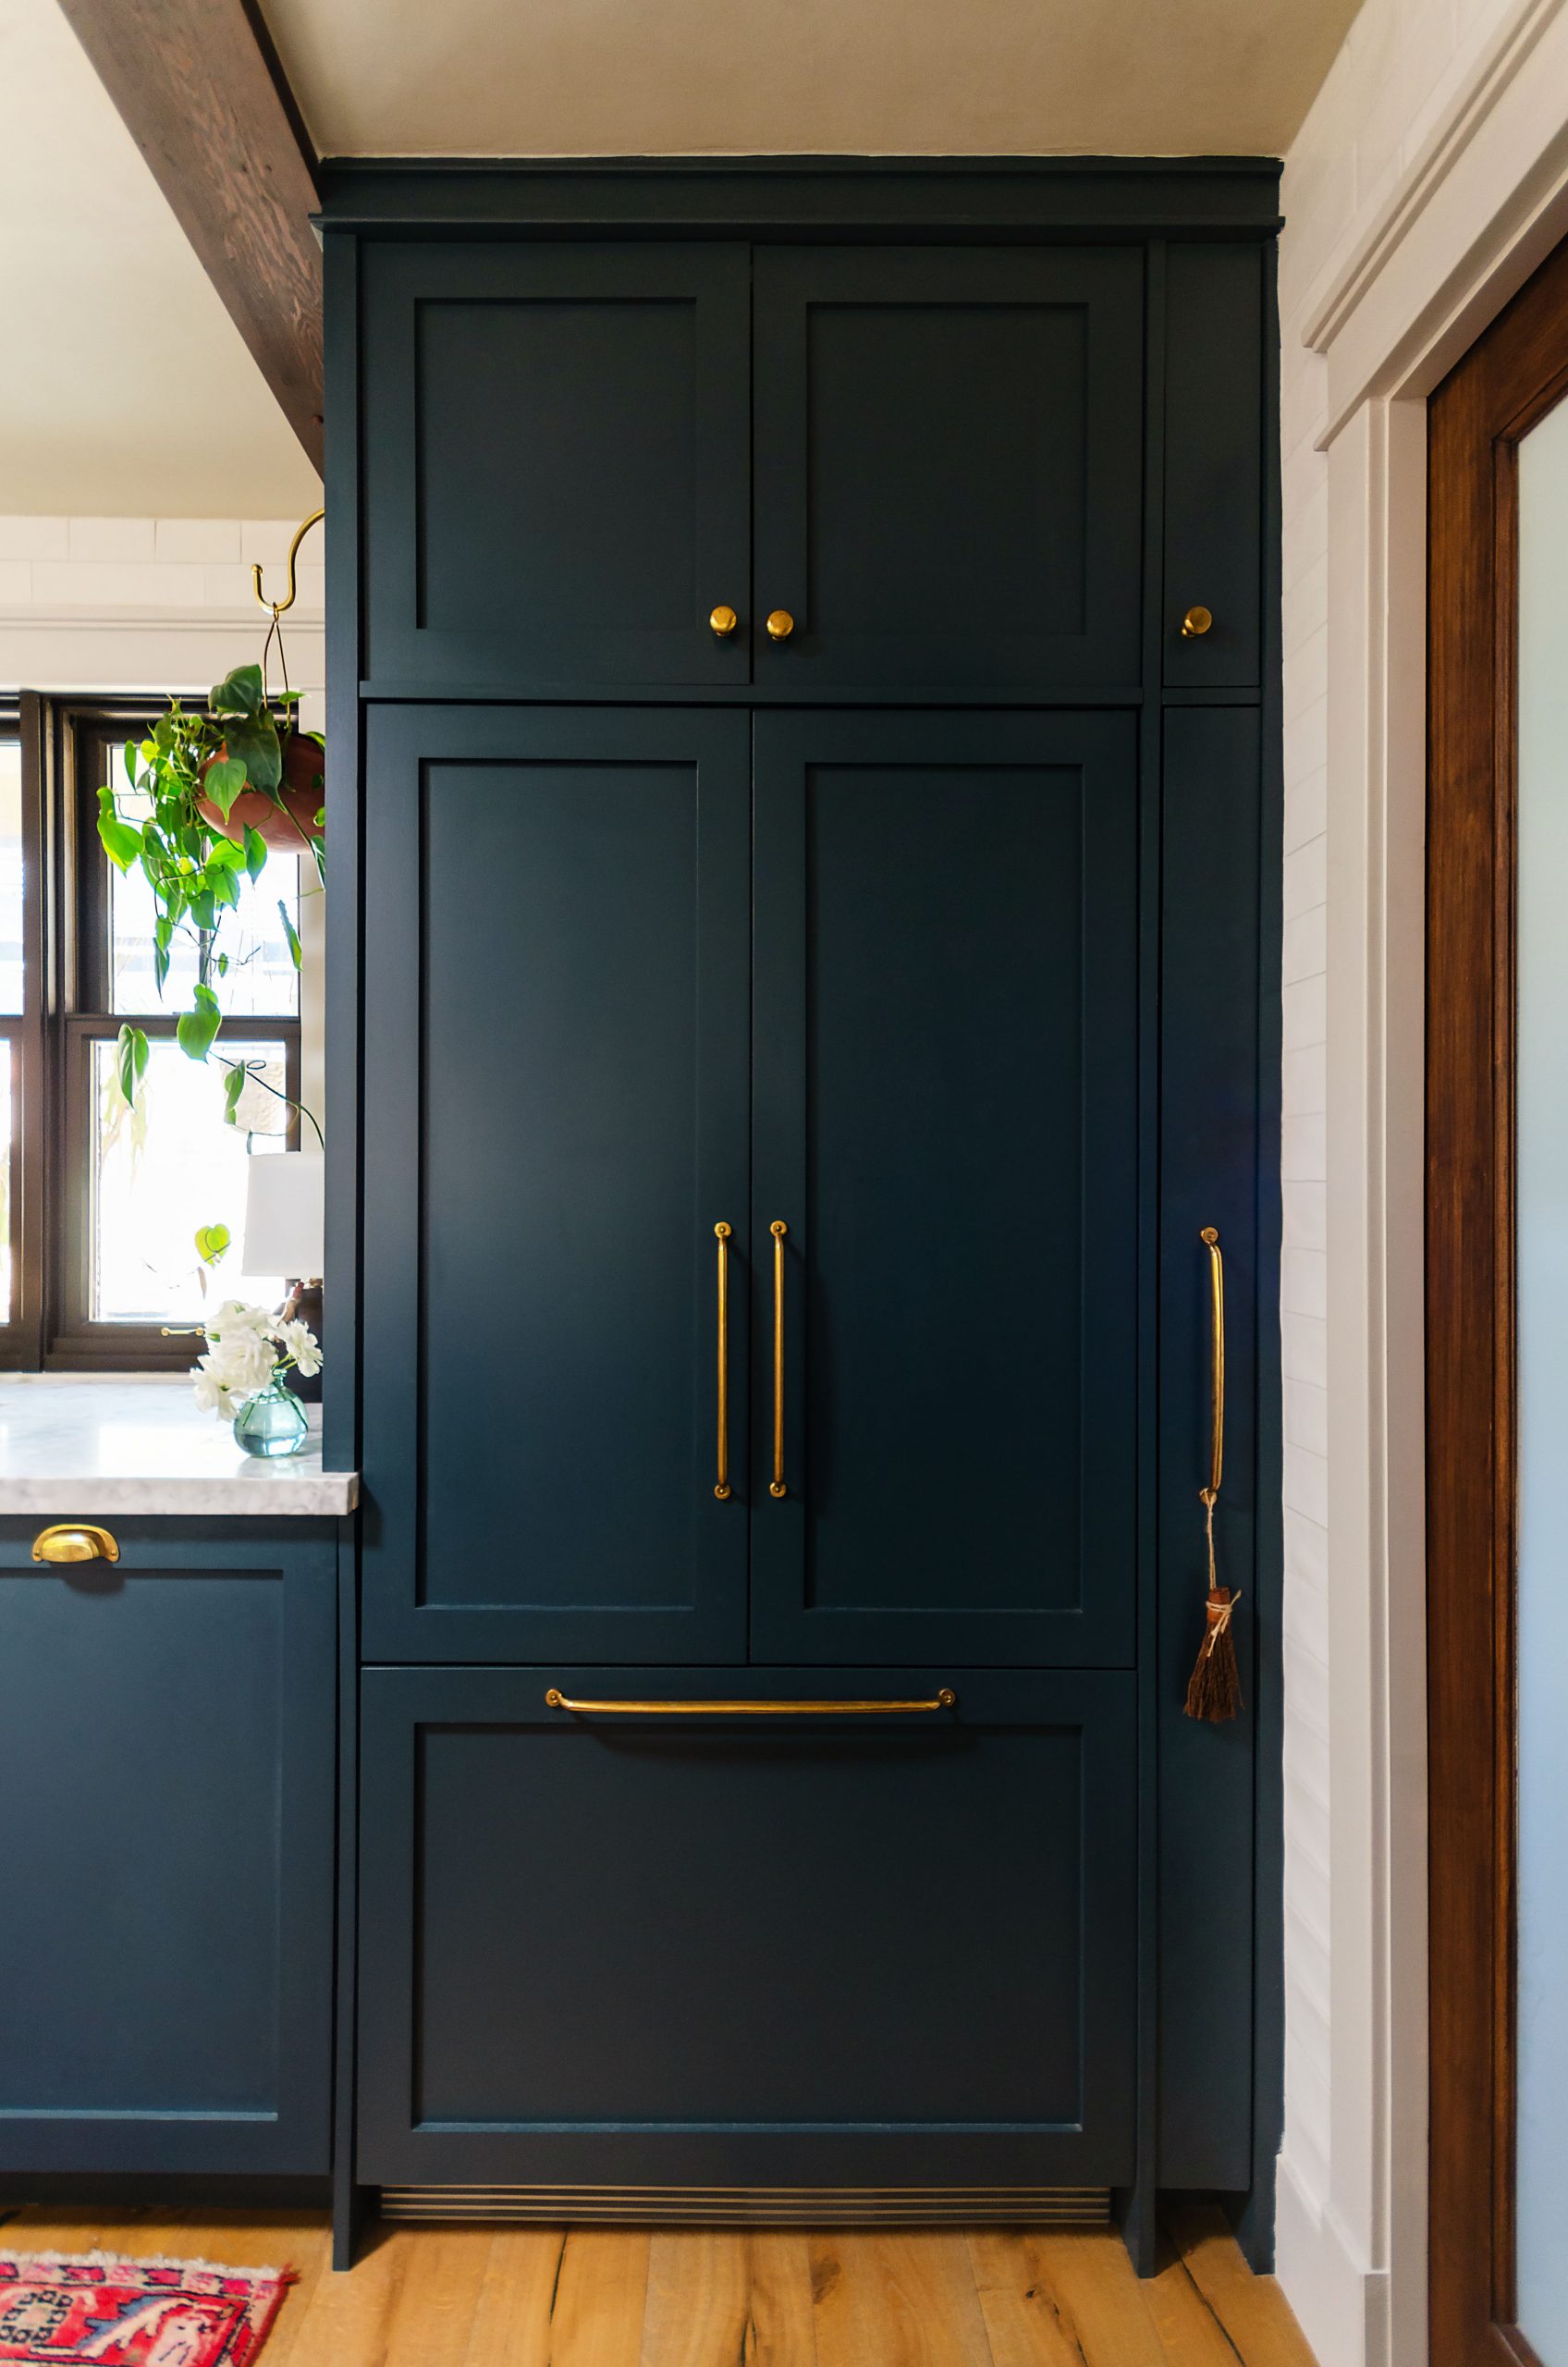
I often visualize an artwork, graphic, or space that I’m working on right before I fall asleep for the night. Earlier one evening Tyler and I had been labeling each drawer and cupboard in our kitchen design, and that night I was in a state of deep visualization. I suddenly sat straight up in bed, realizing a potential problem in our design; OHMIGOD where was I going to put our mop and broom in my beautiful new kitchen?! ”Maybe I could hang them in the pantry?” I thought, but I really didn’t want the visual clutter there. At the same time, I worried about making sure we could open up our fridge door without it hitting the adjacent doorway. I realized I could solve both issues by committing that corner space to some sort of pullout cleaning cupboard.
OHMIGOD where was I going to put our broom & mop in my beautiful new kitchen?!
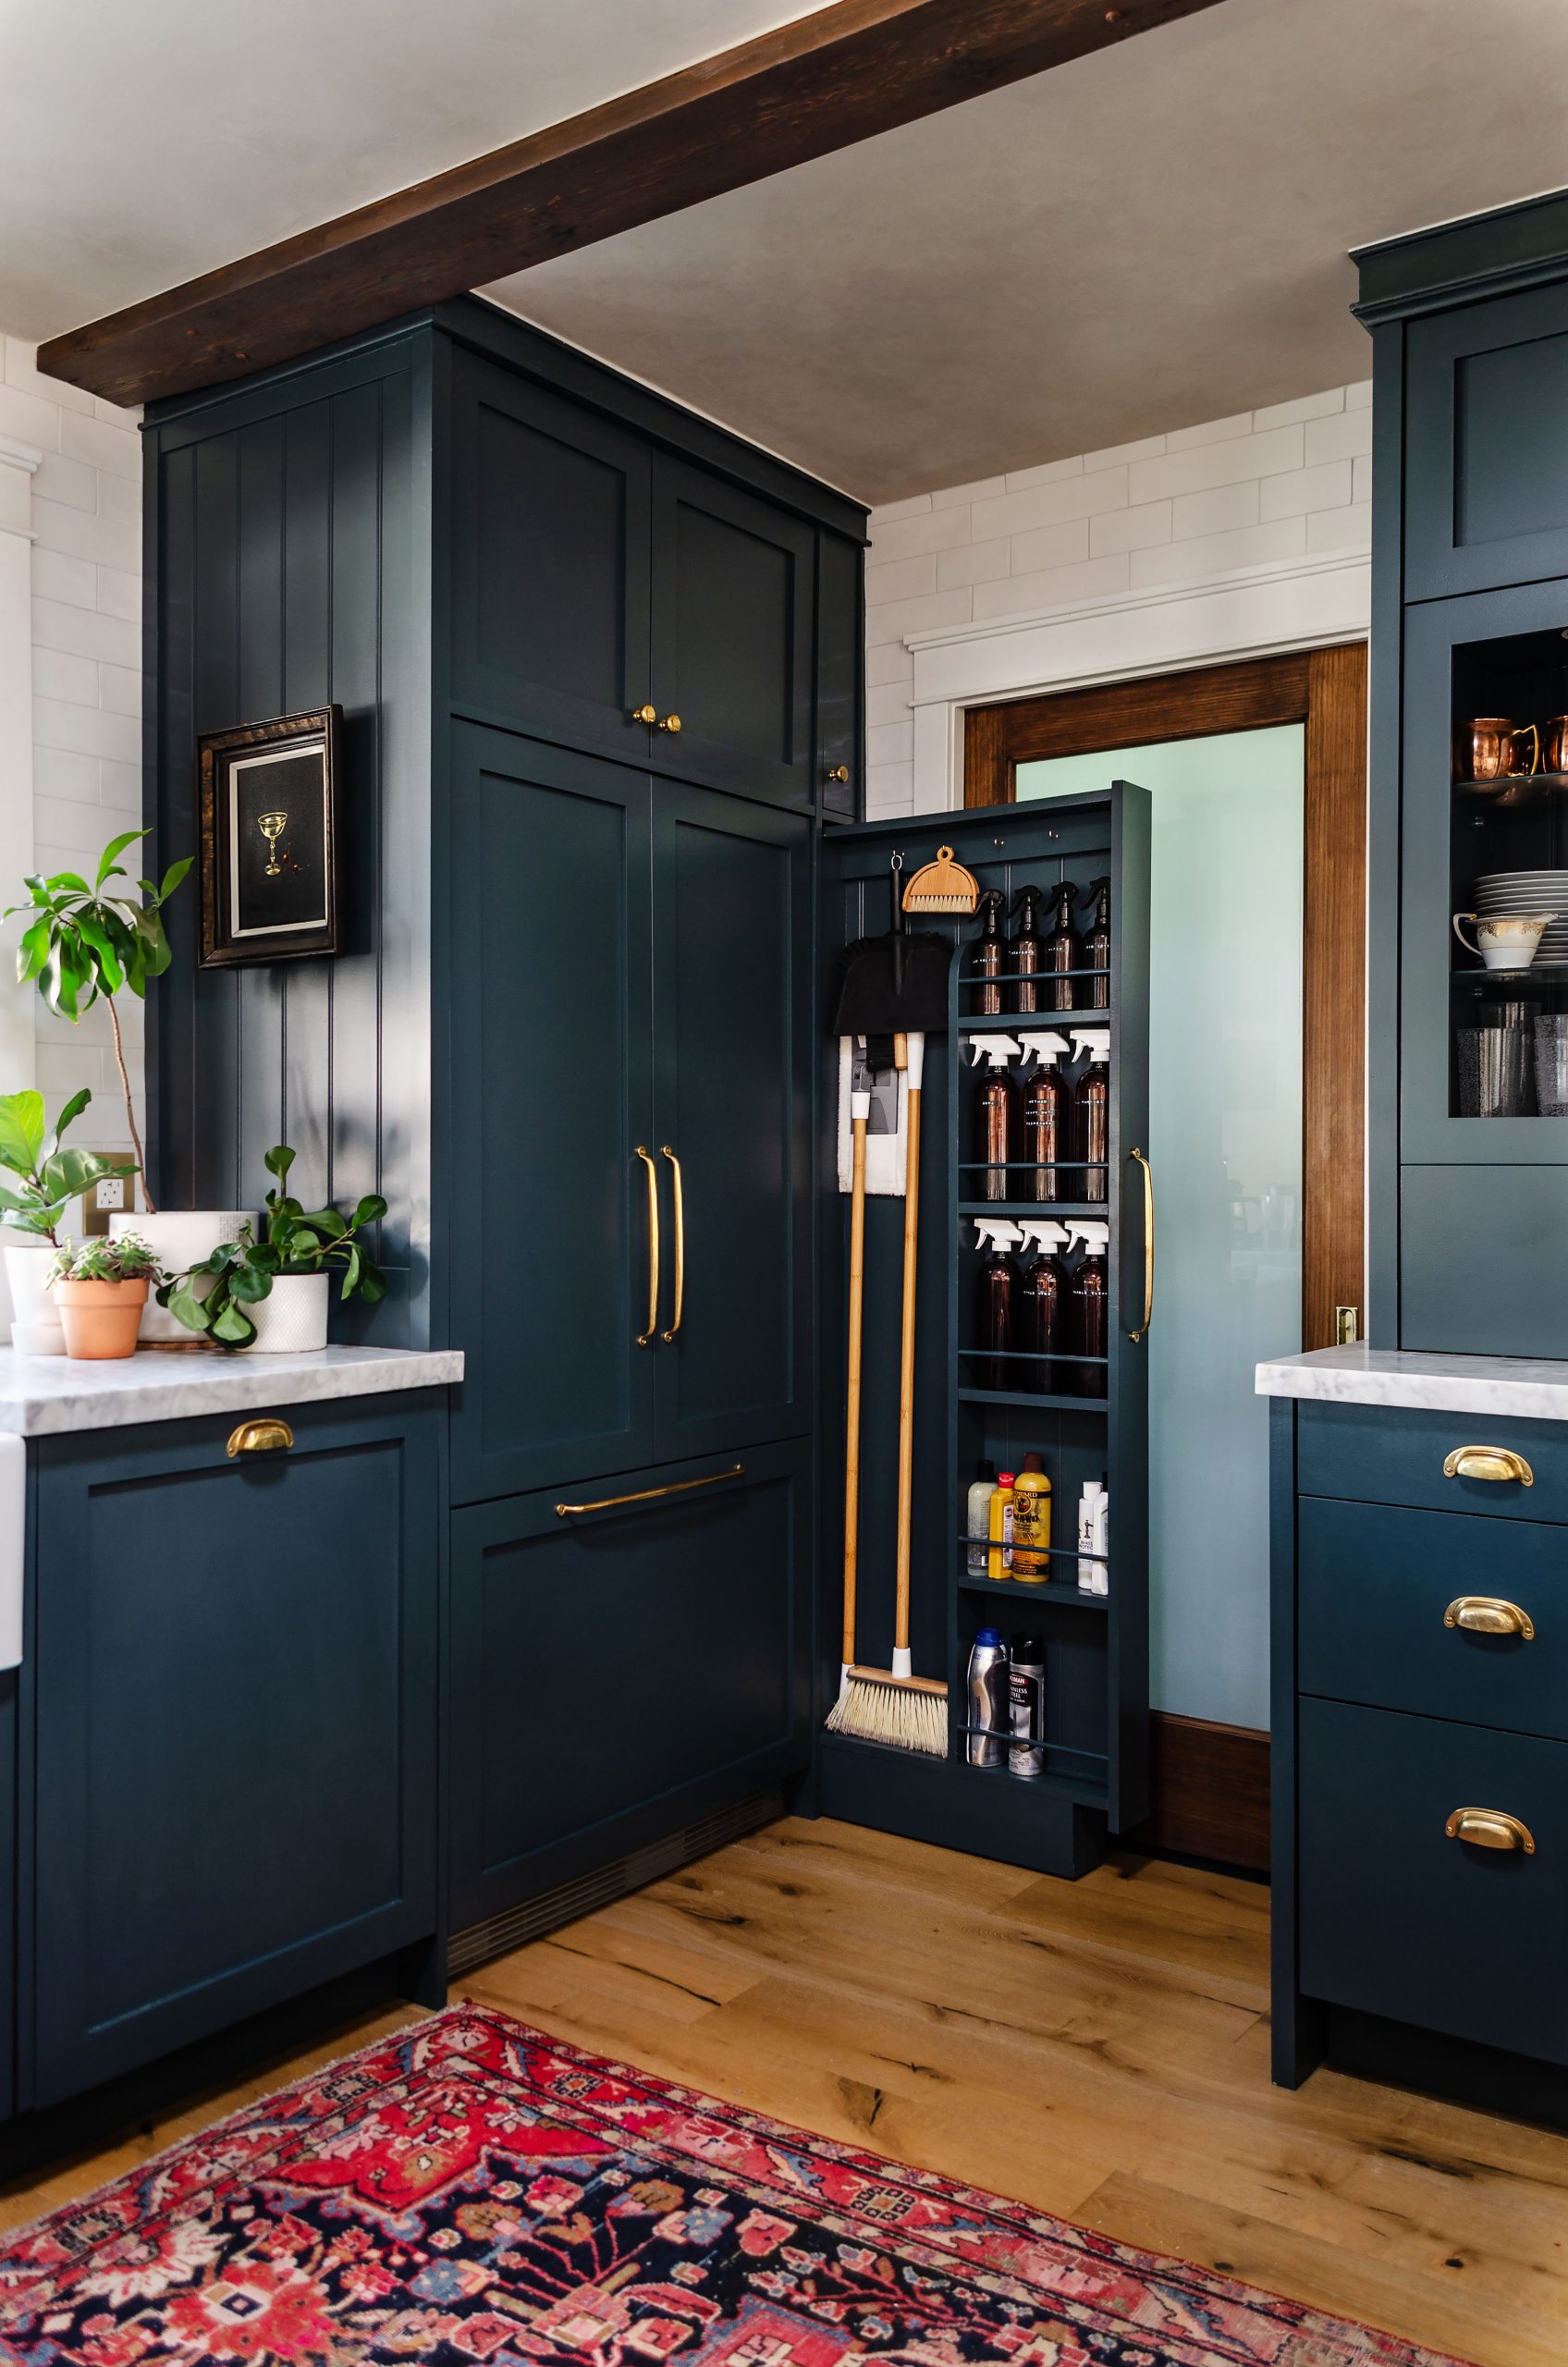
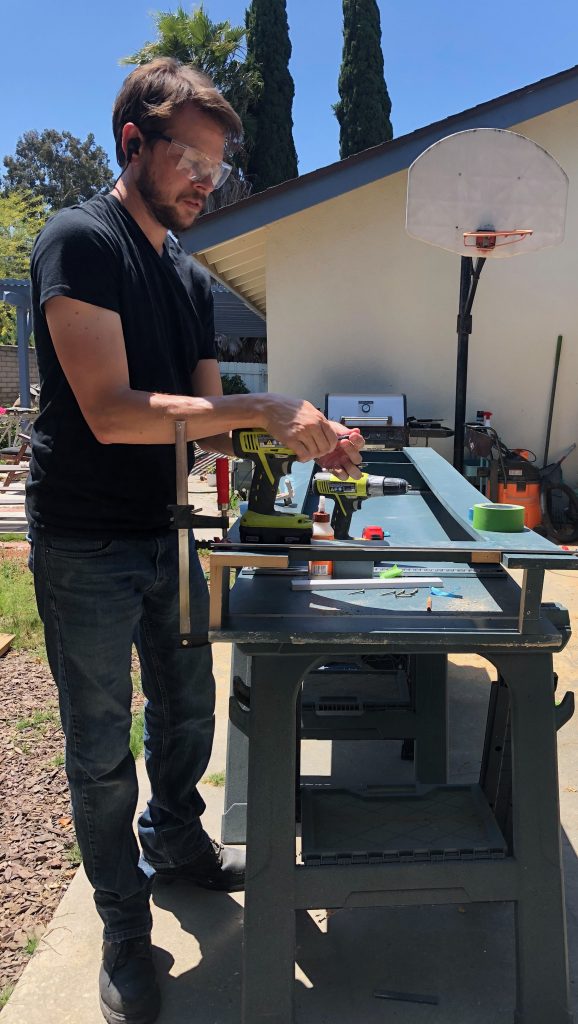
At first, we thought we would be able to just do drawer slides, but if you have seen our instagram highlight then you know that was a Big Fat Fail. Through a lot of trial and error, we utilized casters to help support the base of the pullout. In hindsight I can’t figure out why we didn’t think of this in the first place! We were approaching it more like a drawer on its side, but the final solution with casters and gliders worked much better.
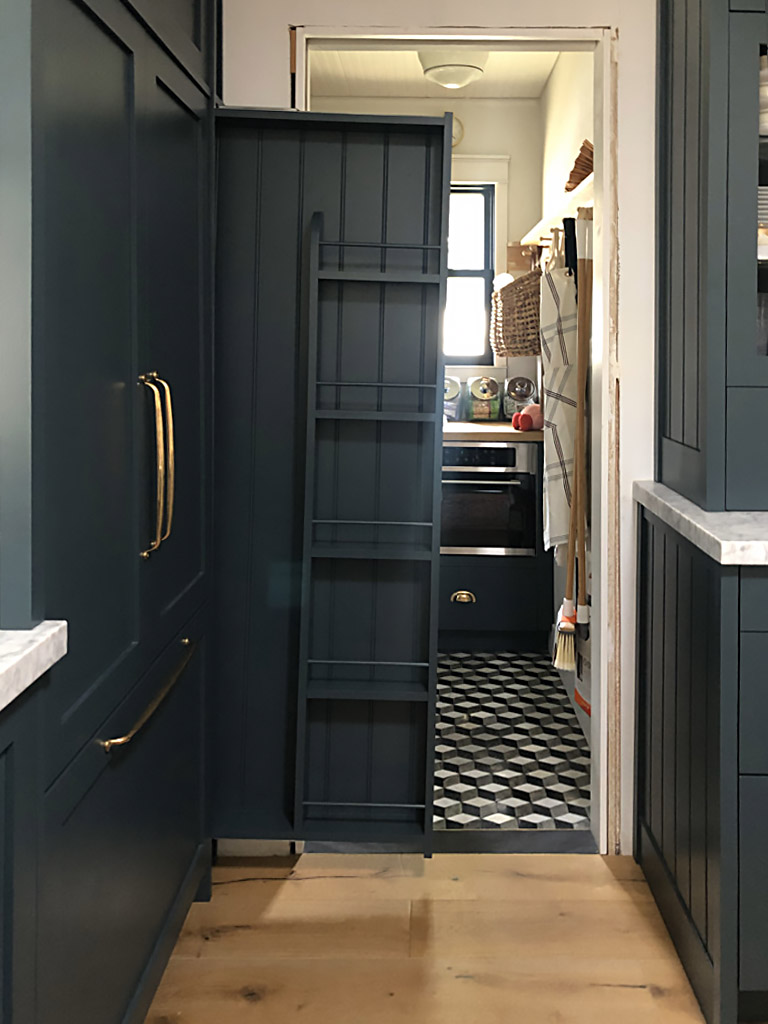

Unfortunately, I don’t have a lot of advice regarding the side panels and what to affix the broom cupboard pull out into, as every kitchen or utility space is different. However, if you watch our highlight you can see a bit more of the contraption that Tyler built to house the pullout, and create the small cupboard above the broom cupboard (we store various baking sheets in there).
One major benefit to creating this cabinet is now we have more hidden shallow storage, which I prefer because it makes it much easier to find what you’re looking for and not overbuy. In this case, it also means I’m less likely to let my cleaning supplies clutter on my counter before putting them away under our sink, and also I won’t lose anything in the back of a cupboard; everything is clearly labeled and easy to see. I get what I consider to be a strange question every time our broom cupboard makes the rounds on the internet; “but how do you tell the bottles apart?!”. Maybe these people have never heard of a label maker??? I used my handy dymo label maker and have labeled everything accordingly.
I have a few reasons I prefer to use my own bottles;
- The uniform sizes allow me to utilize maximum storage
- I buy many of my standard cleaning supplies in bulk, so I have the larger bottles to fill these smaller bottles under my kitchen sink
- I also make some of my own mixtures, so I need bottles
- I find packaging to be extremely loud on a visual level. The loud part about packaging is meant to get your attention on a store shelf filled with similar products, so once you’ve brought it home, its loudness is unnecessary (but still SO SO LOUD). To put it more bluntly–do you want to be advertised to in your own house with products you already purchased?! When you put a lot of visually loud & busy products near each other sometimes they all just drown each other out and you can’t find what you’re looking for! Most products I have memorized the instructions on how to use, so I no longer need the instructions. By using my own uniform bottles, I cut down on this visual clutter significantly, even when I have a bottle out on my counter while cleaning. This is why Nate Berkus rips labels off his shampoo bottles. Marie Kondo also makes note of how removing labels decreases visual clutter and increases peace in the home.
I like to look back at this project as an excellent example of commiting to an idea, and persevering until you have achieved the goal. It’s also a good example of something that feels overwhelming to create, but when you break it down it feels more achievable!
Notes
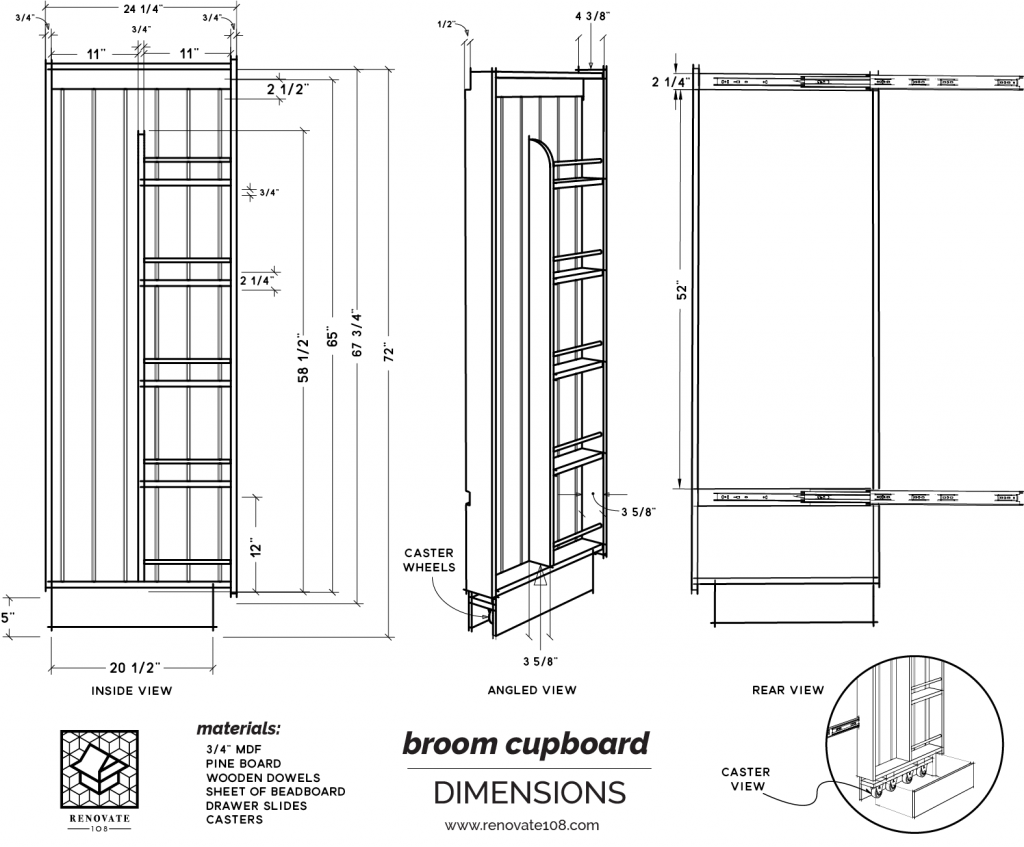
I am sharing our exact dimensions because I have been frequently asked to do so. However, if you are attempting to get a similar look, it is not quite as simple as copying our dimensions. If you are looking to build one for yourself, there are some important things to keep in mind;
- The height of our broom cupboard from the floor is based on the height of our refrigerator (72″), so that the top panel above each lines up nicely.
- The space we have between our wall and fridge (7″ at the bottom, tapering to 6″ at the top) is not likely to be exactly the same a different space. So this makes 2 measurements that should be replaced with specific measurements from your space.
- The depth, however, is pretty standard, as cabinets are typically about 24″ deep.
- The width is also flexible. The width we have (4 3/8″ outer, leaving 3 5/8″ inner) results in what I think is the narrowest usable space you can use, as we can just fit in bottles and such. My dream would have been to make it wide enough to fit in a roll of paper towels!
And, for this reason, I need to make this request of you all; please do not send me messages asking me to re-calculate dimensions for your specific space. The true dimensions for your space should be determined on site. There is enough information here for anyone to figure out what size they need to build for their space. What I have shared are just the dimensions specific to our kitchen. If you are looking to have a contractor build something similar, your contractor should be able to take this information and use it to make something that will fit your space.
Shopping List
Some of the below are affiliate links
- Casters– Home Depot
- Guide Rail – Amazon
- Small Amber Bottles
- Large Amber Bottles
- Dustpan, Alternate
- Counter Brush
- Broom
- Dry Mop
- Label Maker
- 4″ Beadboard Sheet ( 4’x8′, 1/4″ MDF) – (This is what we used on the end panels) Conejo Hardwoods – in store only (I KNOWWW, it’s so hard to find online too! Try your local hardwoods or moulding supply stores to see if they sell it in sheets!)

You may download a PDF of the instructions below; they are large format, so if you are going to print this in letter size, make sure to click “scale to fit” before printing.